Our blog
How to get multi-touch working (Linux and Android)
All of our panels come with USB HID multi-touch controllers and are supported by standard “hid-multitouch” driver available in mainline Linux/Android kernel.
If your system already has this “hid-multitouch” driver available as a kernel module, then you can easy add multi-touch support by adding the following commands to your /etc/rc.local file (before “exit” statement):
1 2 | modprobe hid-multitouch echo W X Y Z > /sys/module/hid_multitouch/drivers/hid\:hid-multitouch/new_id |
where
- W – is USB bus number of touchscreen USB, can be figured out by “lsusb” command
- X and Y – are VID and PID of touchscreen USB, also can be figured out by “lsusb” command
- Z – is 1 for 7″ and 10″ panels, and 259 for 14″ and 15.6″ panels
If your system has no “hid-multitouch” driver compiled, then the following steps are required to get multi-touch working:
- Download kernel sources for your board.
- Modify hid-multitouch.c file, located in kernel/drivers/hid/ folder.
- Re-build the kernel with the HID-MULTITOUCH option enabled.
- Create an IDC (Input Device Configuration) file (required by Android only).
Let’s consider these steps in more details.
- Modify hid-multitouch.c file
First of all, you should download kernel sources and default kernel configuration file for your board. Then, you should go to kernel/drivers/hid older and find there file hid-multitouch.c. This files contain VID:PID values of USB touchscreens that will be processed by hid-multitouch driver. And we should add VID:PID of our touchscreens there. They are:- 04D8:F724 for 7″ and new 10″ touchscreens
- 0EEF:A107 for 14″ touchscreen
Open file hid-multitouch.c, find mt_devices[] struct and insert the following code at the beginning of this structure define:1
2
3
4
5
6
7
8
9static const struct hid_device_id mt_devices[] = {
/* Chalkboard Electronics 7" and 10" */
{ .driver_data = MT_CLS_DEFAULT, HID_USB_DEVICE(0x04D8,0xF724) },
/* Chalkboard Electronics 14" */
{ .driver_data = MT_CLS_DEFAULT, HID_USB_DEVICE(0x0EEF,0xA107) },
// here the rest of definitions comes - Re-build the kernel with the HID-MULTITOUCH option
Type “make menuconfig” to configure the kernel, then go to Device Drivers -> HID Devices -> Special HID drivers -> HID Multitouch panels and select it as an embedded driver (*). Save the kernel configuration and compile it to make a zImage kernel file. Transfer the zImage file to your board.
- Create an IDC file
This final step is required for Android only in order to match the resolution of the touch panel to HDMI. Create a plain text file as below:1
2
3
4
5
6
7
8
9touch.deviceType = touchScreen
touch.orientationAware = 1
device.internal = 1
keyboard.layout = qwerty
keyboard.characterMap = qwerty2
keyboard.orientationAware = 1
keyboard.builtIn = 1
cursor.mode = navigation
cursor.orientationAware = 1The file name must be Vendor_xxxx_Product_yyyy.idc, where xxxx is VID of panel, and yyyy is PID of panel. The filename is case sensitive!In our case, you should use filename Vendor_04d8_Product_f724.idc (7″ and 10″ panels) or Vendor_0eef_Product_a107.idc (14″ panel). Now copy the IDC file to your Android board (Android must be rooted) with the following commands (substitute Vendor_xxxx_Product_yyyy.idc with real file name):
1
2
3
4
5
6adb shell
su
mount -o rw,remount /system
[Ctrl-C]
adb push Vendor_xxxx_Product_yyyy.idc /system/usr/idc/.
adb reboot
That’s all. Now you should get multi-touch support working.
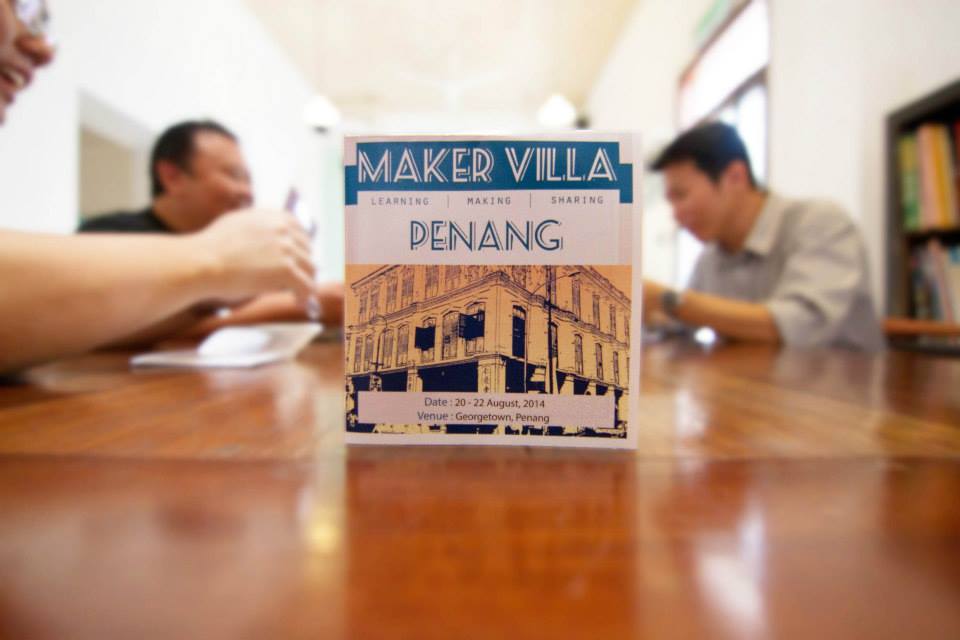
Maker Villa Penang
Couple weeks ago our sales Andrew participated in maker camp on Penang island, Malaysia and I asked him to tell a little bit about this event.
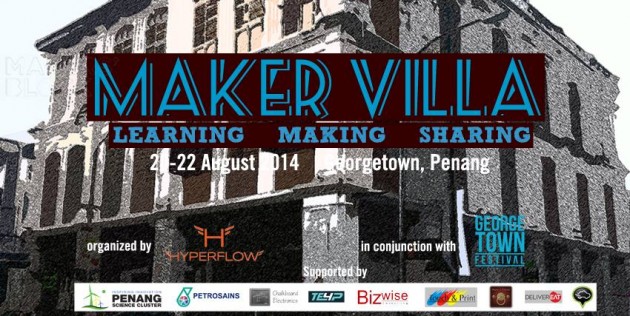
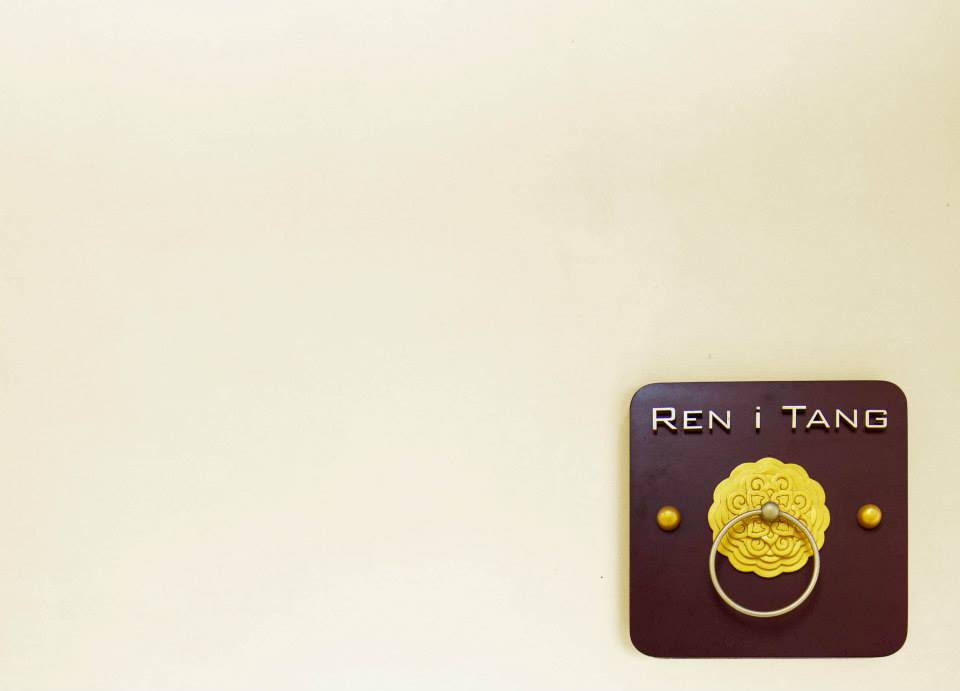
This was our first participation in the Maker Villa and we were one of the proud sponsor of the event held at Ren-i-Tang, a historical Chinese herb medicine shop turned hotel located at the heart of the UNESCO world heritage site in Penang. It is a great venue for such a cool event.
We were introduced to some delicious local food like char kuey teow, mee sotong, asam laksa before heading to the museum to learn about the history of Penang which is diverse and rich in culture.
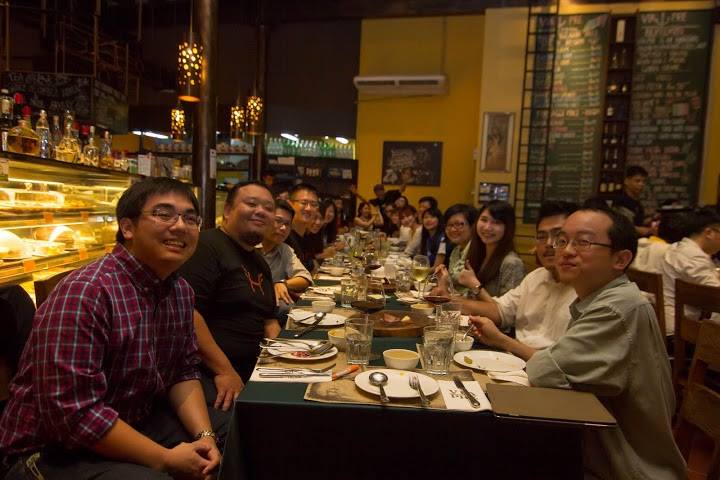
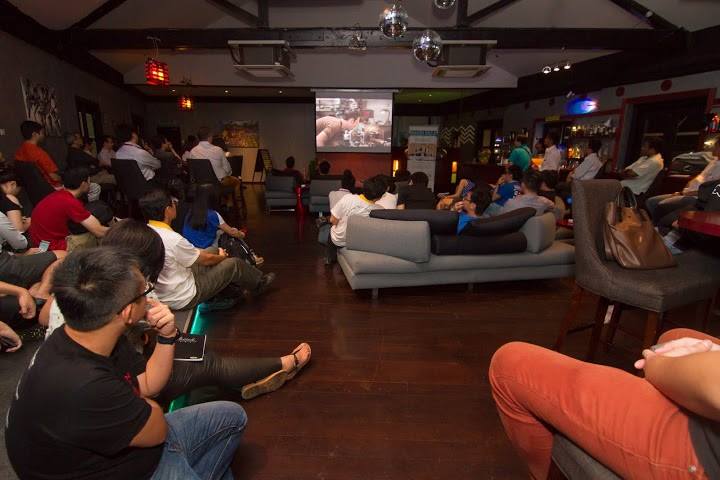
The event kick started with the MakerFilm Viewing after a sumptuous dinner at Via Pre restaurant. This video is a compilation of the maker's story which moved our heart deeply.
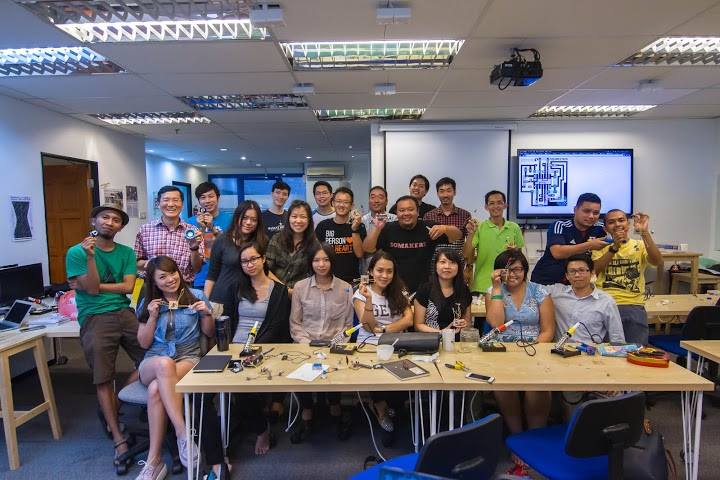
The next 2 days were packed with workshop and talks given by indusry gurus that gives strong support on the Maker movements. They were held at Penang Science Cluster. Makers were busy sharing their ideas and brainstorming on issues.
I had the privilege to exchanges some ideas and explain about what we do with Maker Yoda (Mr. Yun)
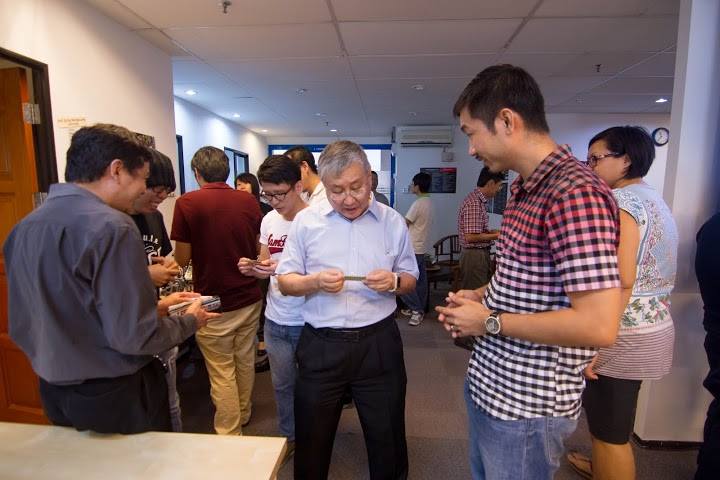
I have also been very busy demonstrating our LCD touchscreen to friends that I make in this event. Everyone seems to be having fun.

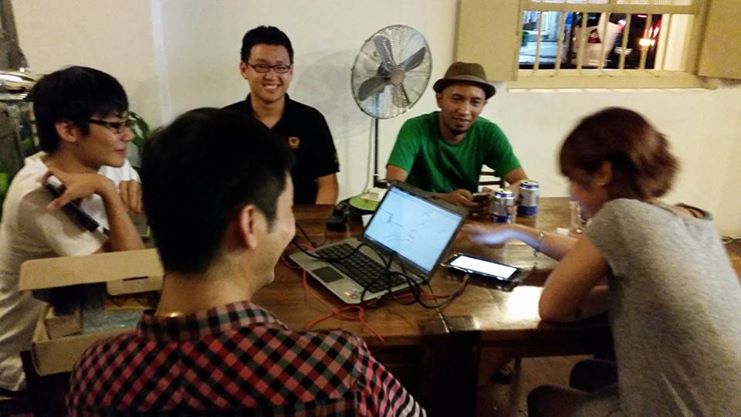
There were also sharing sessions by William our organizer on the Maker movement.

Curry Khoo, a starup facilitator that help future technopreneurs making their dream come true. He also shares a lot of his experience along the way.
Overall, it was a great event and I have made a lot of friends here. One more thing, there will be a Penang Mini Maker Faire on 15 Nov to bring more makers out, showcase their stuff and ideas.We would be happy to meet you there!
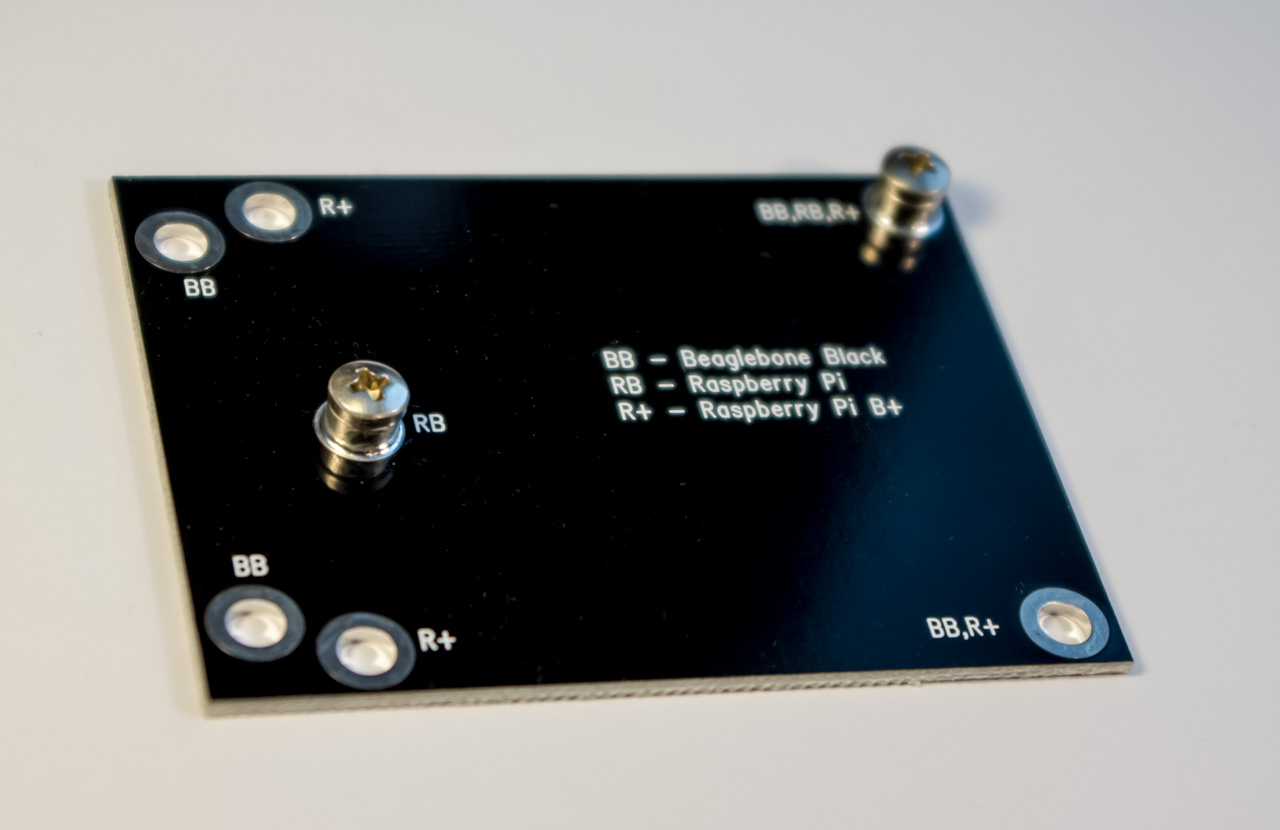
LCD holder for RaspberryPi and Beaglebone Black
Well, today is Monday, and here is our last release - LCD holder
We design all of our new video converter boards with all components on top side only. As a result, flat bottom side allows to stick board on back side of LCD, like we did for our new 7"/10" integrated platforms, and just released dualLVDS converter. But what about main board, like RaspberryPi, Beaglebone, etc? They have components on both sides and we are forced to place them right on table or look for enclosure. That's why we made LCD holder for these boards - simple board with low profile metal standoffs and flat bottom side.
Here is Beaglebone Black mounted on LCD holder:

Board height is increased just a little bit (less than 1 mm in this case measuring from mini-USB connector on bottom side of Beaglebone), but now it has flat surface and can be fixed on bottom side of LCD with double-sided glue tape, providing fully integrated solution for your projects.
LCD holder has holes for RaspberryPi, RaspberryPi B+, and Beaglebone Black:

We are going to offer this board as an accessory for our new LCD bundles, and you will be able to select holder for your mainboard.
Each board will be supplied with mounting screws
New integrated 10-inch platform
Lets continue with our product releases. Here is our new 10" integrated multi-touch platform:
- 10" black frame capacitive multi-touch LCD panel with IPS technology
- 1366x768 native resolution, high brightness (450 cd/m2) and contrast (800 CR)
- capacitive multi-touch panel with up to 10 fingers, standard Windows USB HID specification
- extra-low power consumption, can be powered by the same USB cable that used for touchscreen - check photo below
- fully integrated solution - no external boards and cables
- slim design (<9 mm thickness including electronic and connectors)
- easy installation – just connect and it will work
- mini HDMI input accepts any resolution up to 1920x1080 (FullHD) and scale down to native LCD resolution
- slim-profile power connector (OD=2.6mm, ID=0.65mm, positive central pin)
- mini USB connector for touchscreen with support for driver-less single touch, or multi-touch with additional driver
- audio engine provides decoding of HDMI stream audio and outputs it to standard 2.5mm connector
- external ambient light sensor for automatic brightness control
- internal LVDS scaler allows to get HDMI with any resolution from virtually any HDMI source, like RaspberryPi, Beagleboard/Pandaboard/, Beaglebone Black, Hackberry, Odroid, Cubox, mk802 and others Android stick clones, Gooseberry, Nitrogen/Sabre, OLinuXino-A13, normal PC/notebook, video players, etc.
New 10" integrated solution, top view

Hole in the bottom center part of frame is for the main action button, like Home button in Android or Windows. And we are going to offer capacitance sensitive button for this hole as an option. For mass qty orders we can also make it with your custom logo in silver or gold color. Button action will be available as an USB HID event for your target platform.
New 10" integrated solution, bottom view
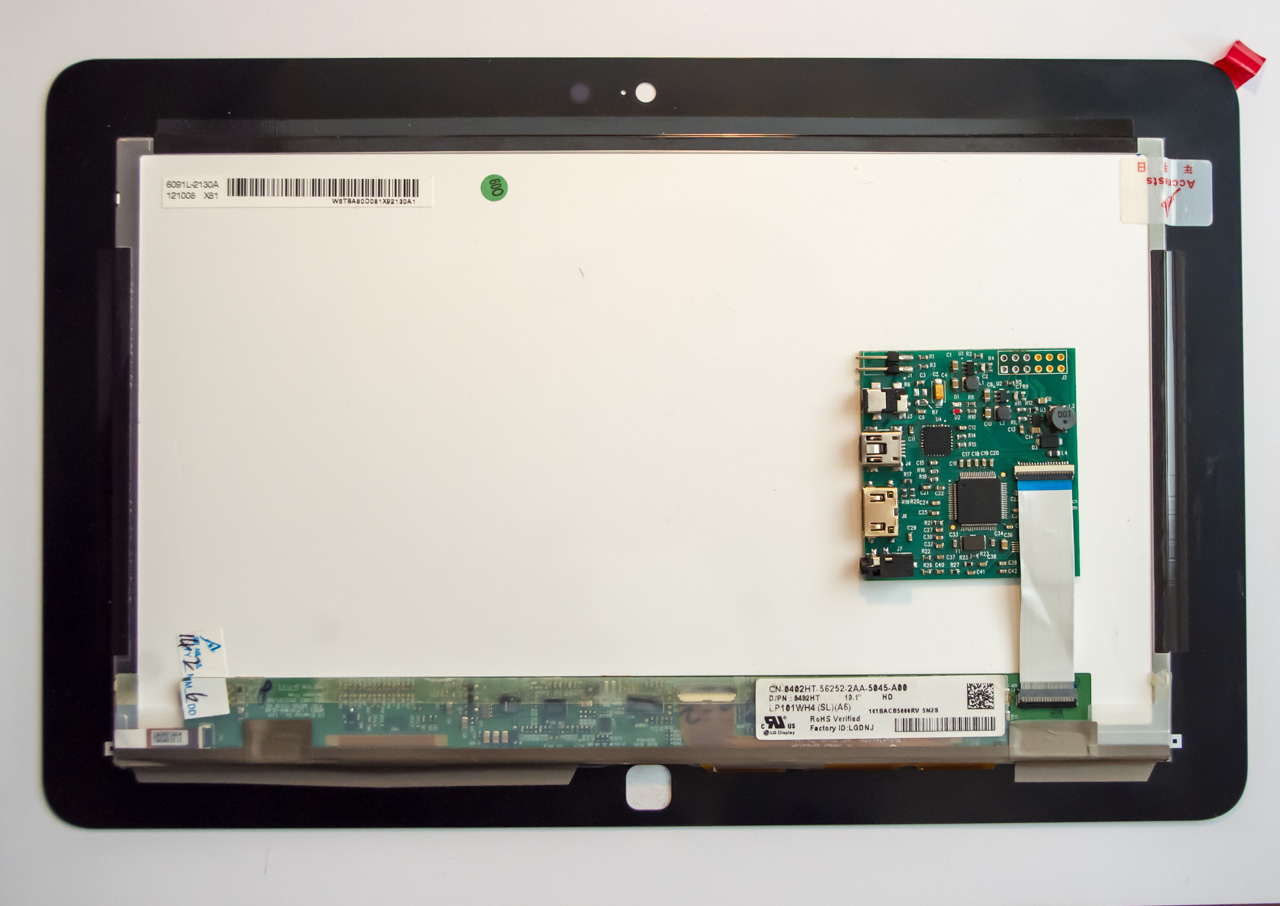
As you can see on above photo, control board has similar interfaces to 7" integrated solution - mini-USB for touchscreen and optional power, mini-HDMI for video input, power jack, audio 2.5mm jack, and input for ambient light sensor. All integrated on bottom side of LCD.
New 10" in action, connected to 1920x1080 HDMI source, powered by USB, current consumption is 320mA only!

One more new product announce will be on Monday. The same time we will announce prices and new product availability in stock.
